.jpg)
If you’ve been searching for how to create a WhatsApp API account, integrate it with your Facebook Business Manager, and start using the WhatsApp Cloud API for free, then this blog is exactly what you need.
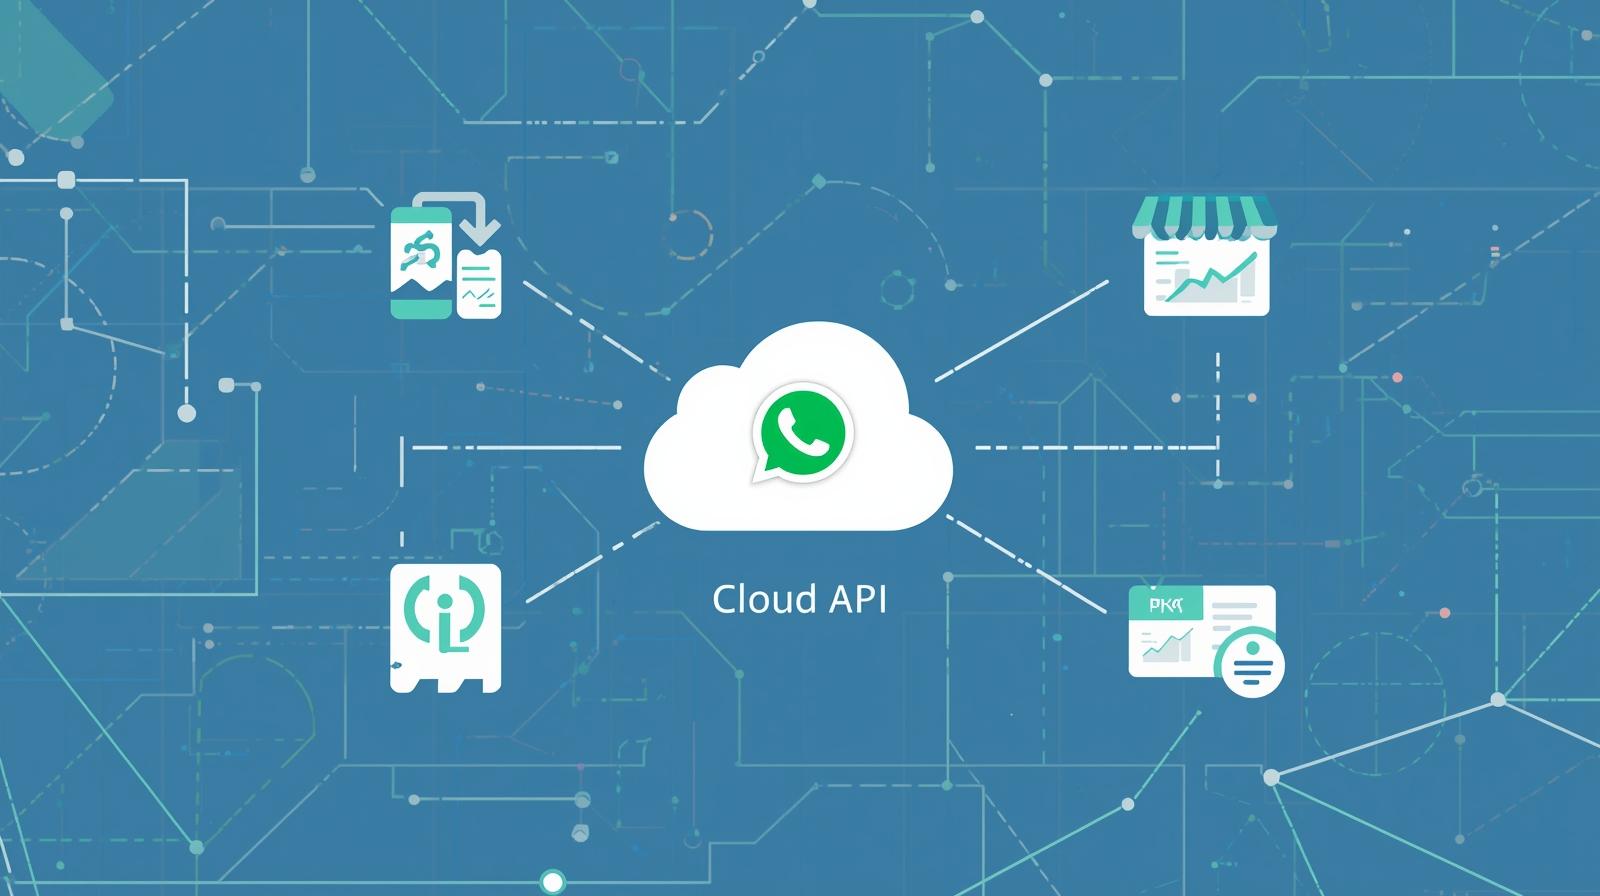
The WhatsApp Business API is the official way to send and receive messages programmatically. Whether you’re a developer, a startup, or an established business, learning WhatsApp API integration will give you the power to connect with your customers more efficiently.
In this guide, we’ll break down the complete WhatsApp Cloud API setup process in 2025 — from signing up to sending your first message.
Why Use WhatsApp Cloud API?
-
Free to start – WhatsApp Cloud API provides a free tier to test.
-
Scalable – Suitable for both small businesses and enterprises.
-
Automation – Send alerts, OTPs, order updates, or customer service replies.
-
Official – No risk of number bans (unlike third-party unofficial APIs).
If you want to build chatbots, integrate with CRM, or simply automate customer communication, then WhatsApp Business API setup is your best option.
Step 1: Sign Up on AiZenty WhatsApp Cloud API Panel
-
Go to 👉 wa.aizenty.com
-
Sign up with your business details (name, email, phone, password).
-
Login into your dashboard.
-
From the sidebar, navigate to Settings > WhatsApp.
At this point, you’ve created your WhatsApp API account on the AiZenty panel.
Step 2: Create a Facebook Business Manager Account
The WhatsApp Business API works only when linked to a Business Manager (BM).
-
Visit 👉 business.facebook.com.
-
Click Create new Portfolio.
-
Enter your business name, legal details, address, and domain.
-
Save & verify your BM account.
This Business Manager will act as the backbone for your WhatsApp Cloud API integration.
Step 3: Setup a Developer Account & Create App
-
Go to 👉 developers.facebook.com.
-
Sign up for a developer account.
-
Click Create App.
-
Choose Other > Business > Create.
-
Add your details and link the Business Manager (Portfolio) you created earlier.
This app will serve as the bridge between your WhatsApp Cloud API and your phone number.
Step 4: Configure WhatsApp API
-
Inside your developer app, click Set up WhatsApp.
-
Select the Portfolio (Business Manager) you created.
-
Navigate to API Integration.
-
Click Add New Number.
-
Register a fresh WhatsApp number (not used in any other WhatsApp account).
-
Verify the number via SMS/Call.
Boom 🎉 — you now have a working WhatsApp Business API setup.
Step 5: Connect API with AiZenty Panel
-
Copy the API key / access token from your Facebook Developer dashboard.
-
Paste it inside the AiZenty panel under Settings > WhatsApp.
-
Save the configuration.
-
Test sending your first message through the API.
This completes your WhatsApp Cloud API free setup and integration.
Example Use Cases
-
E-commerce stores: Send order confirmation, shipping updates.
-
Banks & fintechs: OTPs, fraud alerts.
-
Customer support: Automated replies + chatbot.
-
Developers: Build apps using the WhatsApp API for developers.
Conclusion
The WhatsApp API is no longer limited to big enterprises — with WhatsApp Cloud API free setup, even startups and developers can integrate it within minutes.
If you’re ready to create your WhatsApp API account, set up a Facebook Business Manager WhatsApp portfolio, and start sending messages via official integration, follow the steps above and you’ll be live in no time.
👉 Need instant access? Get started now at wa.aizenty.com